Thinking of applying the ‘creamy crack’ at home? You’ve come to right place. There are many reasons why people may want to DIY their hair relaxer. To save costs, if you are abroad and far from your stylist or if you are great at DIY and will not trust anyone else with your hair. No matter the reason, this post is here to guide you so you have a stress free hair relaxer at home.
What is a hair relaxer?
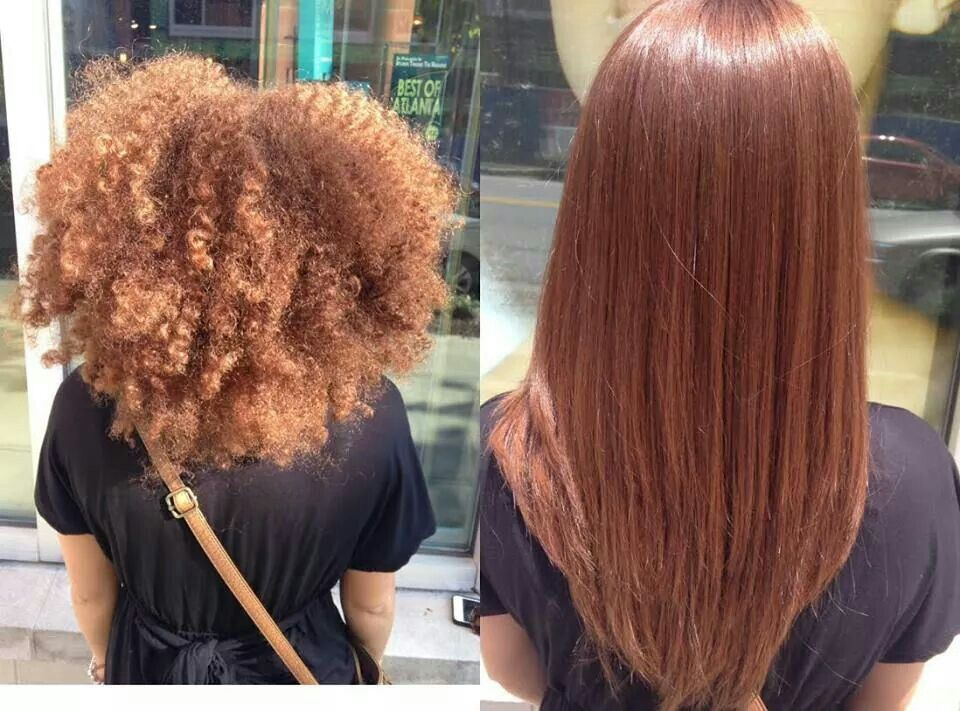
Hair relaxers are creams that are used on hair that is naturally curly or wavy in order to attain a straighter, sleeker look.
I used to think it was only people of African or Caribbean descent with thick hair who relax their hair, but i’ve realised that anyone with curly hair who would like to have straight hair can use a relaxer.
How does a relaxer work?
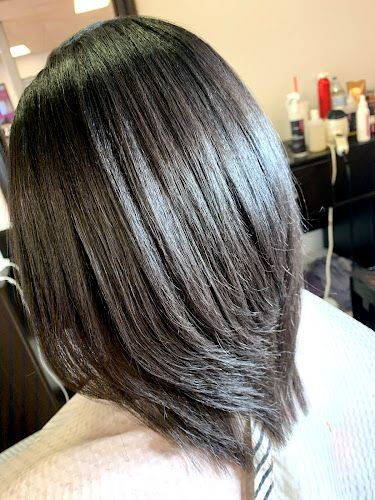
Relaxers contain chemicals that break the tiny connections (protein bonds) inside your hair strand that hold the curl in place. Once the connections are broken, the relaxer allows your hair to straighten out.
For this very reason, important care which I explain below is needed when you relax your hair to keep it healthy, restore moisture and strength and prevent breakage.
7 Essentials you’ll need
- Relaxer Kit
- Rat tail comb
- Wide tooth comb for detangling
- Shampoo
- Conditioner
- CHI Silk infusion to restore strength during aftercare
- CHI Iron guard Heat protector
Before you begin applying a hair relaxer at home
Pick your relaxer type
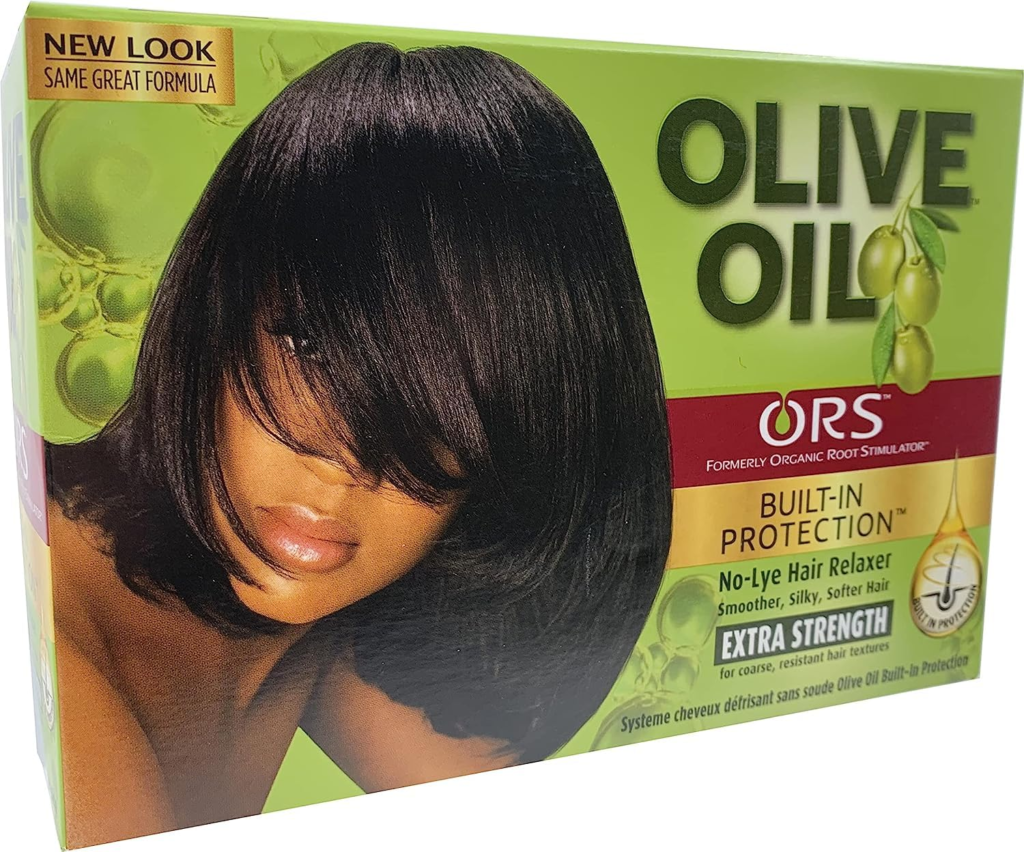
There are two main types of relaxers. Lye and no-lye relaxer. Pick a no-lye relaxer if you have a sensitive scalp. No-lye relaxers have milder chemicals and are less irritating to the scalp.
Two drawbacks are the fact that no-lye can often leave your hair dryer and more prone to breakage. Secondly due to its mild nature, it may require longer processing times and so you may not achieve a bone straight look.
For both reasons, if you are not considered about the sensitivity of your scalp, you should use a lye-relaxer.
Pick your relaxer strength
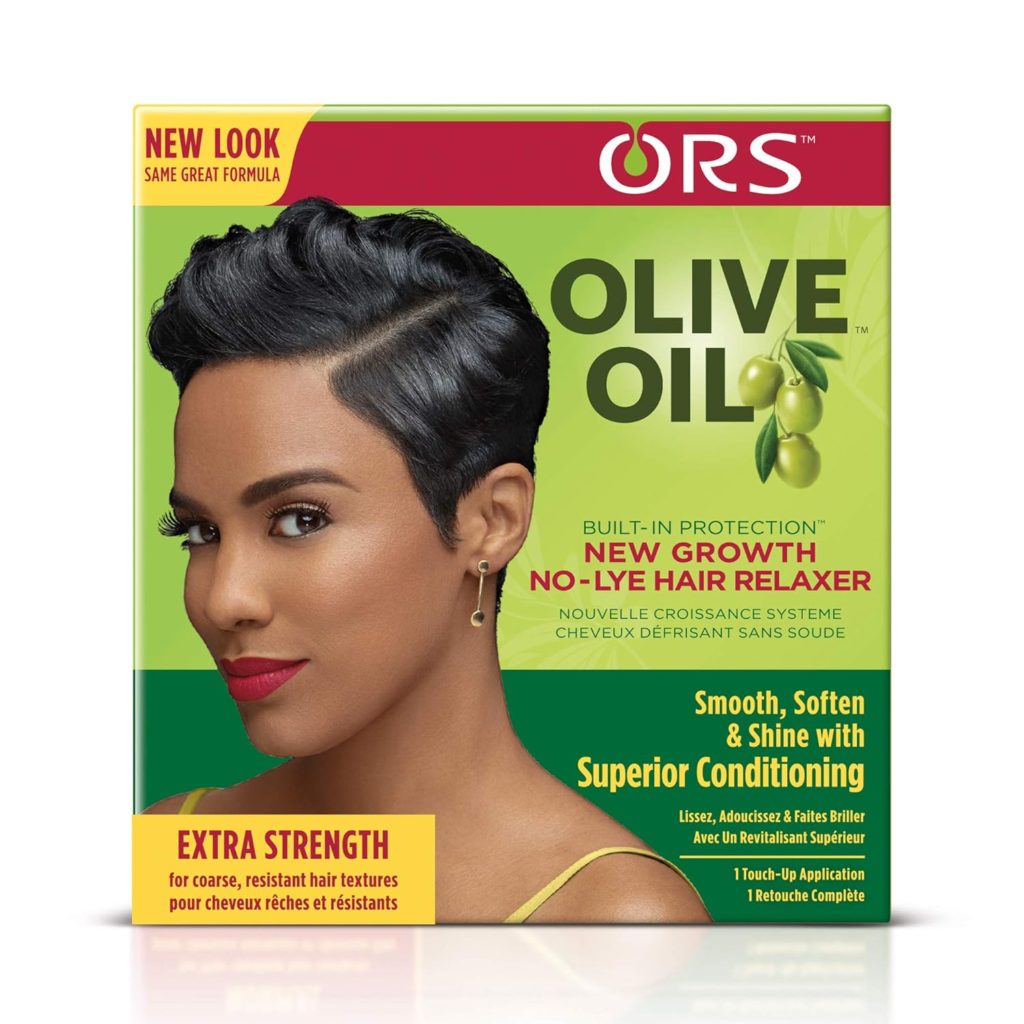
Relaxers often come in regular or ‘super/extra’ strength. As the names imply, the chemical in regular strength relaxer is milder than that of super strength.
Regular strength will work for most hair types. However if you have really coarse hair, you can consider buying ‘super’ strength relaxers.
Perform a Strand test (optional)
Although most people are fine with using relaxers, there is always a benefit in doing a strand test if it is your first time. Apply a small amount of relaxer to a hidden strand of hair to check for any allergic reactions or breakage before applying to your entire head.
Hair Relaxer application
Now for the relaxer application, get your self some gloves (most relaxer kits will come with this), a mixing bowl, application brush and follow the instructions on the relaxer kit.
For most relaxer kits, you will need to mix the relaxer cream with an activator before you apply it to your hair. Some relaxers come mixed and you don’t need to do any mixing. The instructions on the relaxer will guide you in this step.
Step 1: Prep your hair: Do not shampoo or scratch your hair before relaxing. This is the one time you want your hair to have build up. Sounds weird, but dirty scalp is actually great when you want to relax your hair, because the build up will protect your scalp from the irritating chemicals.
Also it’s important to not attempt to relax hair that has just been dyed, it will be too weak and may become severely damaged.
Step 2: Protect your edges: Apply petroleum healing jelly to your edges, hairline, around your eyes and on your scalp. This creates a barrier to prevent the sensitive skin from coming in direct contact with the relaxer. We all know that while relaxer is great for achieving bone straight hair, it can irritate the skin if it stays in contact for too long.
Step 3: Split your hair into small sections
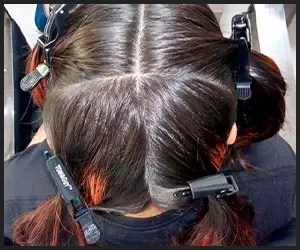
I always go for 4 sections because its easier to work with. These duck clips are great for holding each section in place.
Step 4: Apply the relaxer. Start by coating new growth areas first and avoiding your scalp. Work through each section, ensuring that the relaxer is not covering more than the new growth.
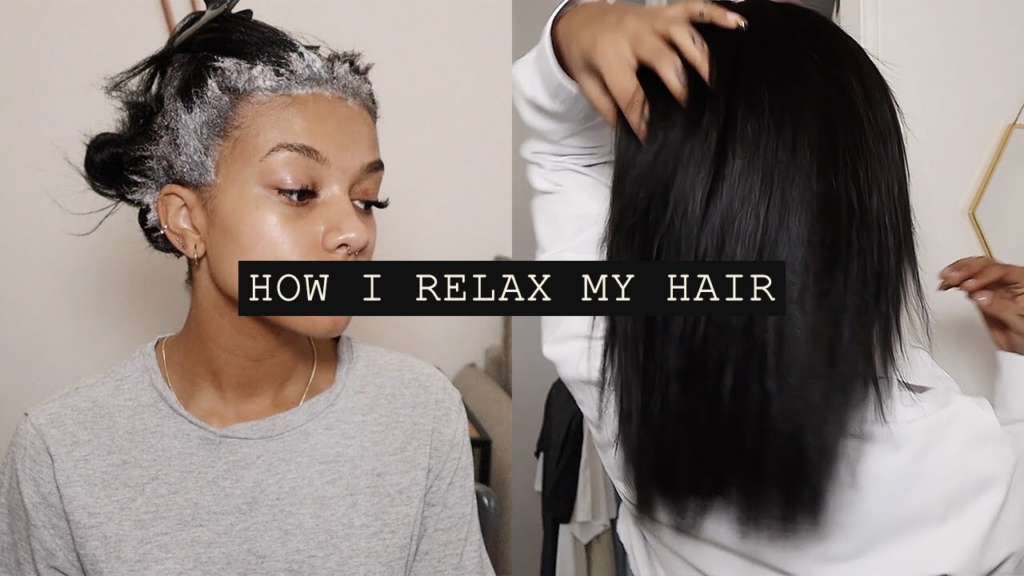
If this is your first time relaxing your hair however, you can allow the relaxer to touch your entire hair.
Step 5: Processing: Once you have applied the relaxer to all of your roots, take some time to comb the roots out gently. Because my hair is very coarse but soft, I usually skip the combing step and simply massage the relaxer into my hair. If your hair is soft this might be all you need to ensure the relaxer penetrates the hair follicles.
Time is crucial! Set a timer for 8-15 minutes depending on your hair texture and monitor your hair according to the relaxer instructions. Relaxers can cause breakage if left on for too long.
Step 6: Neutralize and rinse
Once processing is complete, and your new growth is looking laid against your scalp, use the neutralizing shampoo that comes with the relaxer kit to wash the relaxer away. Rinse thoroughly with lukewarm water.
Step 7: Condition
Apply a conditioner to help replenish moisture lost during relaxing. Use gentle conditioners specifically designed for relaxed hair like this ORS replenishing conditioner. Apply the conditioner generously to your hair, allow it sit for 5 minutes before rinsing it out
Caring for your relaxed hair
- You should touch up new growth every 12-16 weeks. Remember to not apply the relaxer on previously hair, keep it to the new growth.
- Always keep your hair moisturised to prevent dryness and breakage
- Avoid shampoos with sulphates because they are drying
- Sleep with a Satin Bonnet
- Wear protective hairstyles like braids, weaves or flat twists that can protect your hair tips
- Trim week ends for healthier looking hair
Related: 20 Chic ways to style your relaxed hair that are not basic.