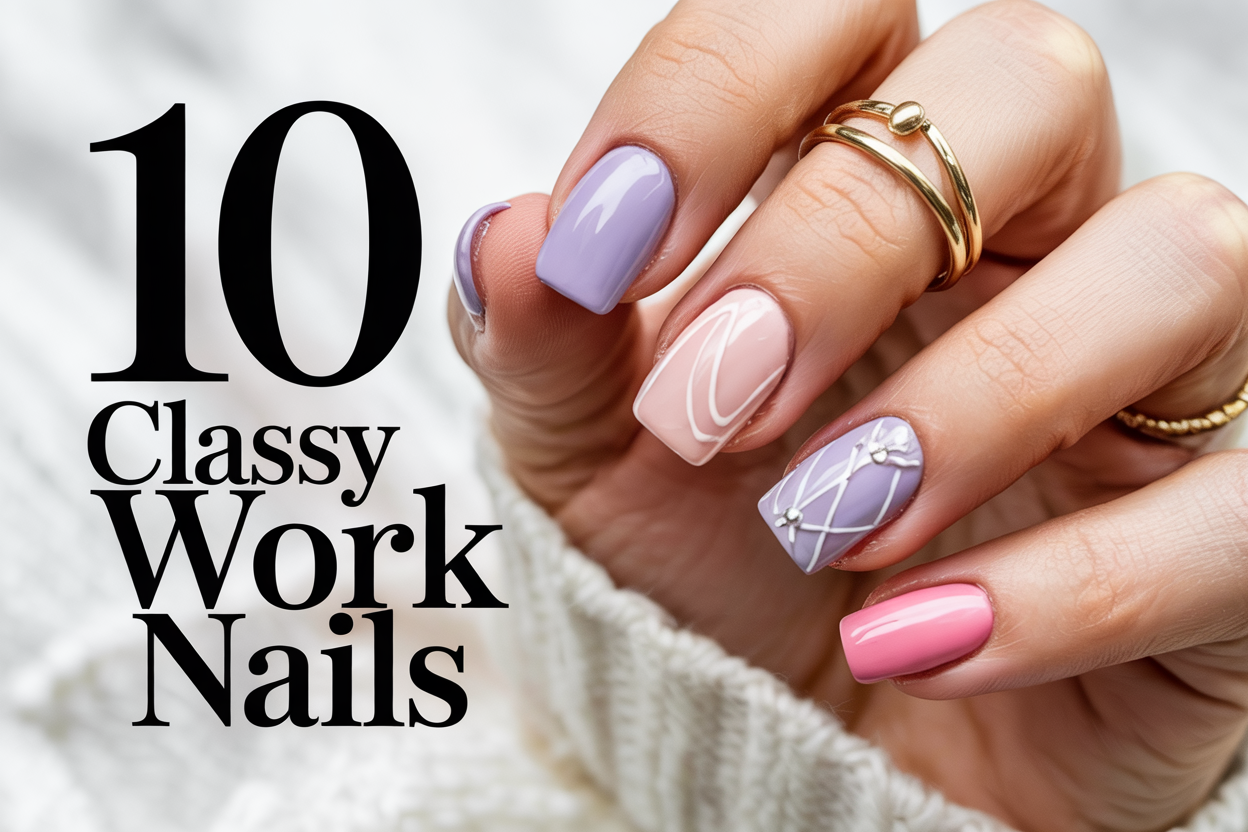
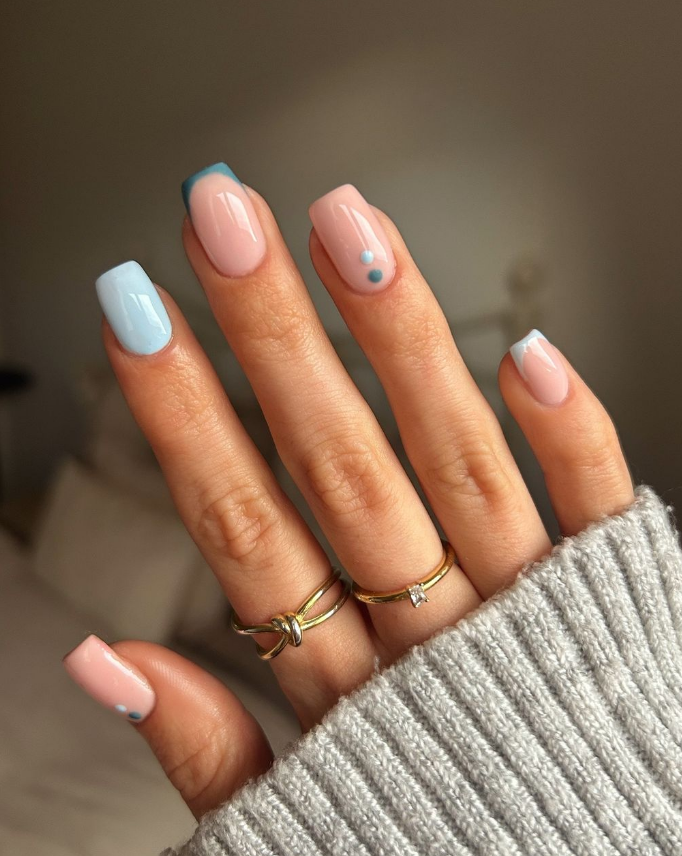
In today’s how-to post I want to talk about something you might be hearing a lot about lately: BIAB nails.
BIAB stands for “Builder in a Bottle,” and it’s basically a hybrid between gel polish and acrylic enhancements. Unlike acrylics, which get glued onto your nails, BIAB is a soak-off gel that’s applied directly to your natural nails.
So, what are the benefits?
There are a few reasons why BIAB nails are taking off. First, they’re much gentler on your natural nails than acrylics. The gel is more flexible and less damaging during removal.
Second, BIAB adds strength and structure to your nails. This can be a game-changer for people with weak or brittle nails who struggle to grow them out. The gel creates a kind of protective layer that helps prevent chipping and breaking.
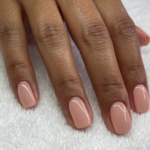
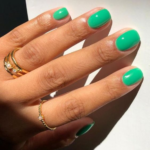
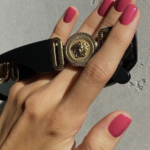
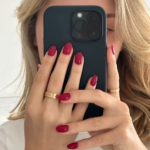
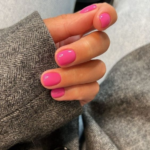
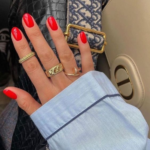
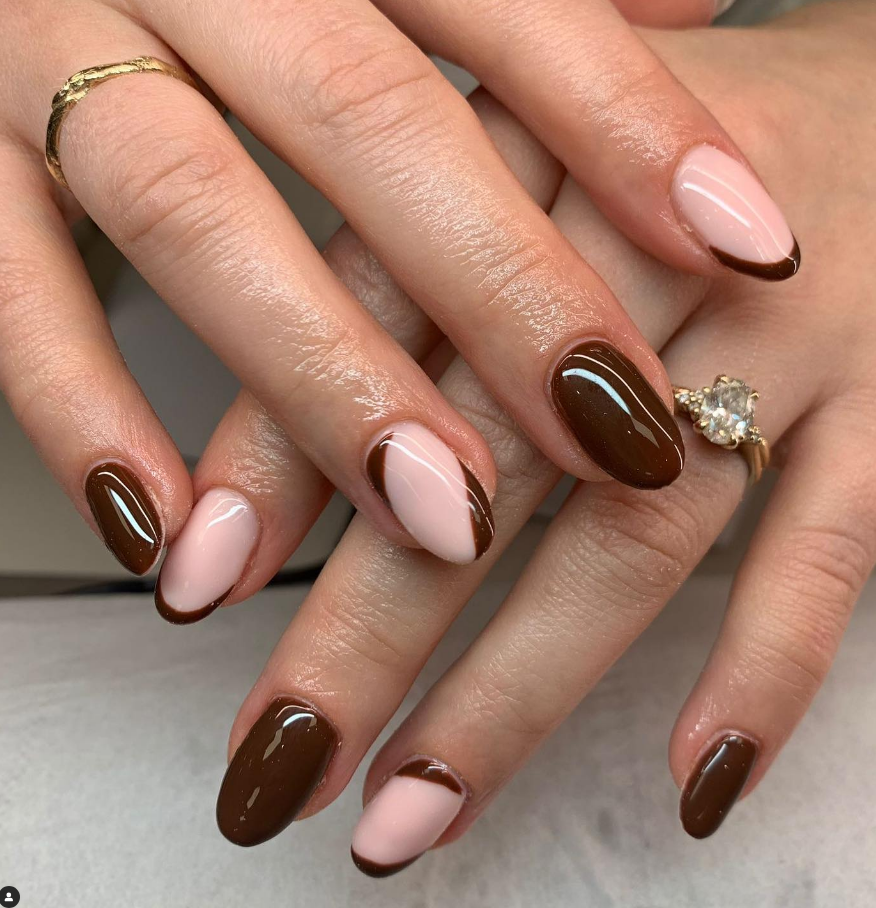
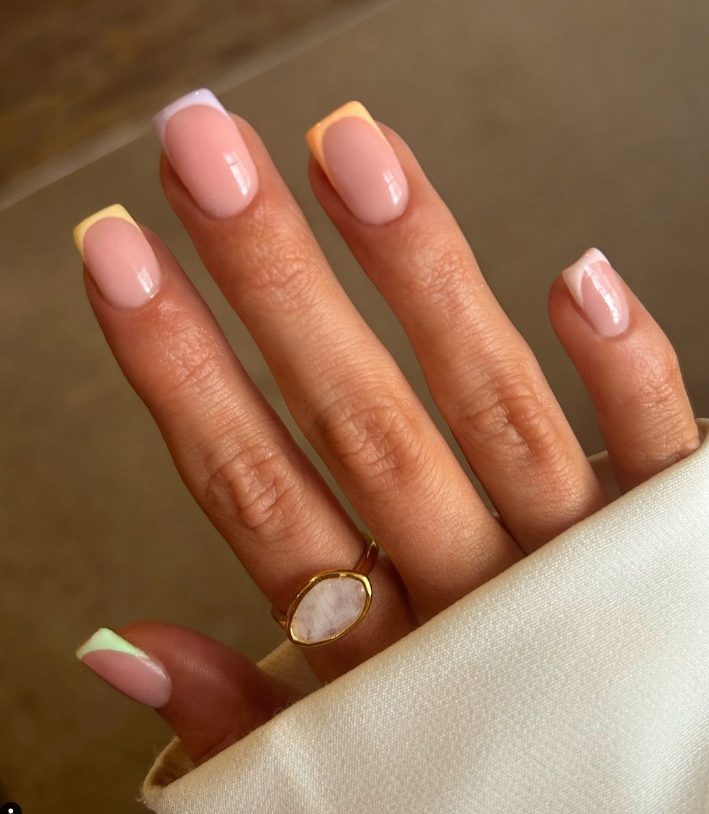
Third, BIAB nails can still look super natural! The gel comes in a wide range of colors, just like regular polish, and it has a lightweight, barely-there feel.
Is BIAB right for you?
If you’re looking for a way to strengthen your nails and enjoy long-lasting color, then BIAB is definitely worth considering.
So without taking too much time, let’s dive into how you can recreate the Biab nails at home.
Steps 1 & 2 Nail Prep
So the first thing to do in the biab process is nail prep.
To begin, trim and push back your cuticles gently with a cuticle pusher and wipe away any dust. This ensures the BIAB gel adheres properly.
Next, you buff your nails with a buffer. Just very light buffing to create a slightly rough surface for the gel to grip onto.
Step 3: Base Coat
Now, this might seem obvious, but the next step is to apply a good base coat to your nails. It creates an extra layer of protection for your natural nails and helps the BIAB gel last even longer. Apply a thin layer and let it cure completely under your UV lamp – most BIAB kits come with one! But if you are looking to buy, here are some great options.
Step 4: Builder gel application
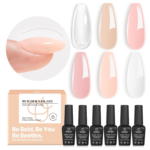
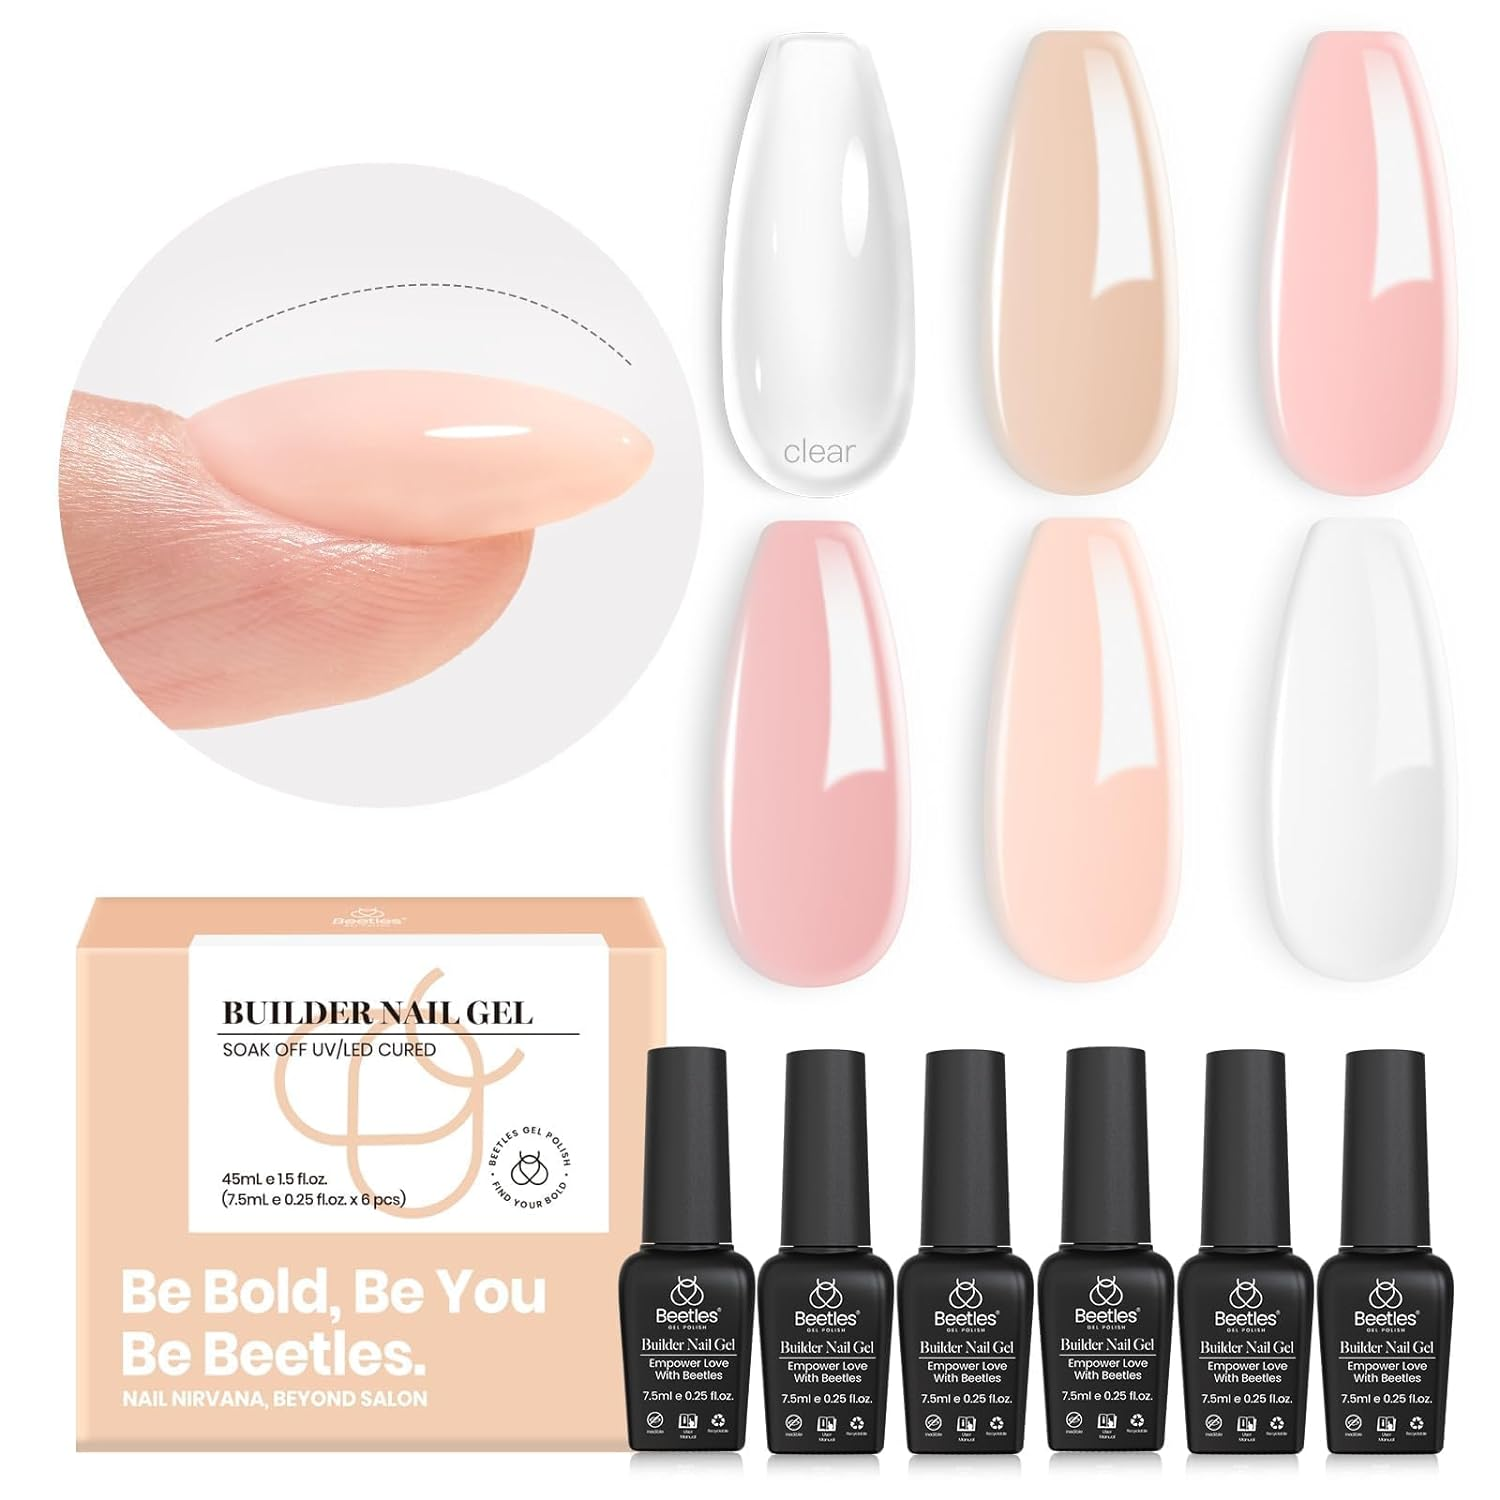
The following Biab gels can help you achieve the perfect biab nails. Remember, it comes in all sorts of pretty colors, but I think it’s best to go with a nude biab gel or clear biab gel, so you are not limited and can change the top coat color whenever you like. Below are my fave builder gels,
Beetles comes in a pack of 6 neutral colors from clear to nude to light pink or white. Bluesky is a single builder gel that has a clear finish.
Other BIAB favourites
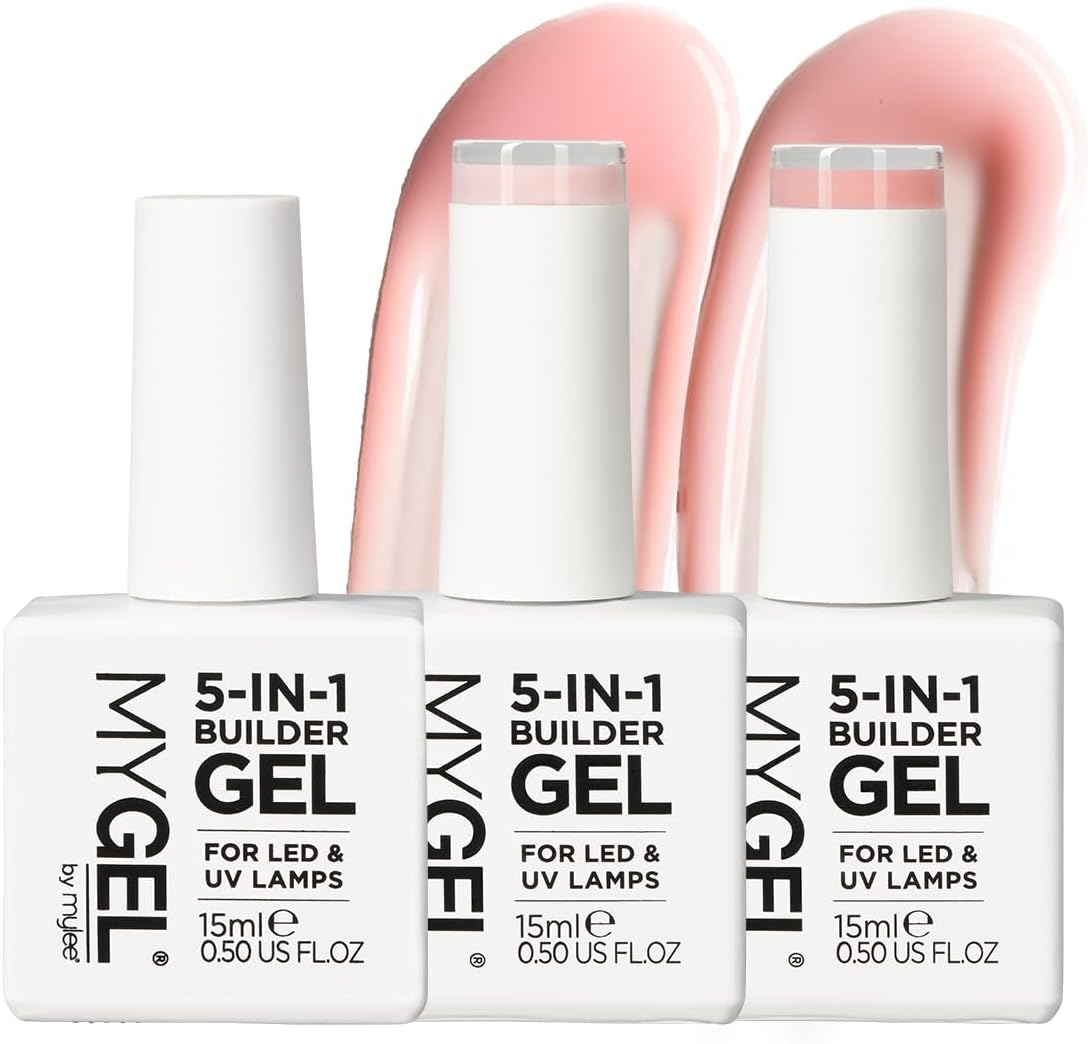
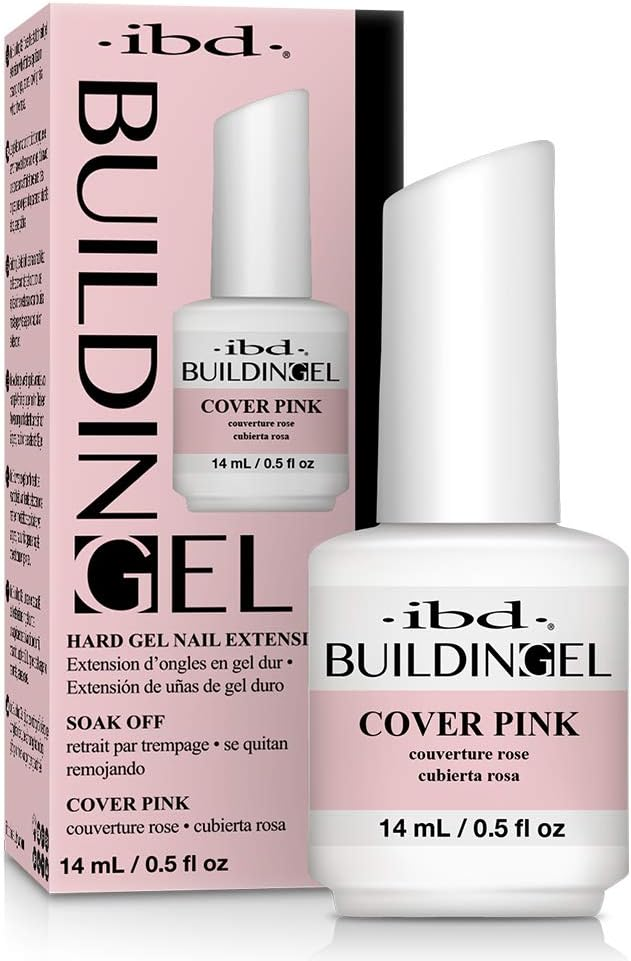
While Mygel comes in clear, light pink and peach. While IBD is your top choice if you simply want a pink finish.
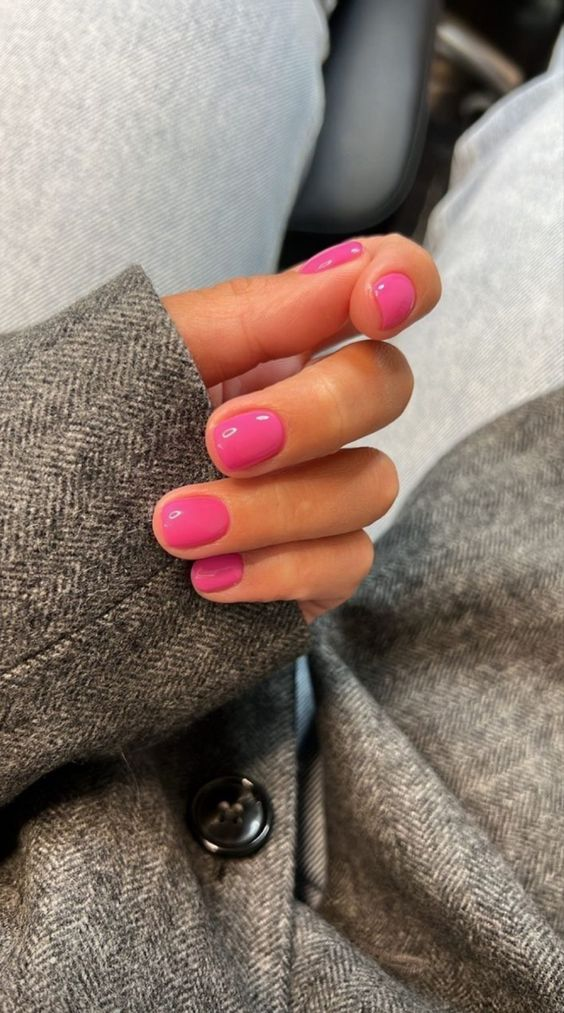
To apply: Apply in a sway motion as seen here.Once you get it on evenly, you can cure it and it would look great. If you think the layer you applied is too thin, add another layer and cure again for a stronger, more sculpted look.
Tip Time!
For those tricky sidewalls, the sway application motion usually helps but if not you can use a thin nail art brush to gently nudge the gel into place. And don’t forget to “cap” the free edge of your nail with each layer – this prevents chipping.
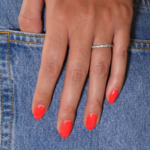
Step 5: Shaping Up
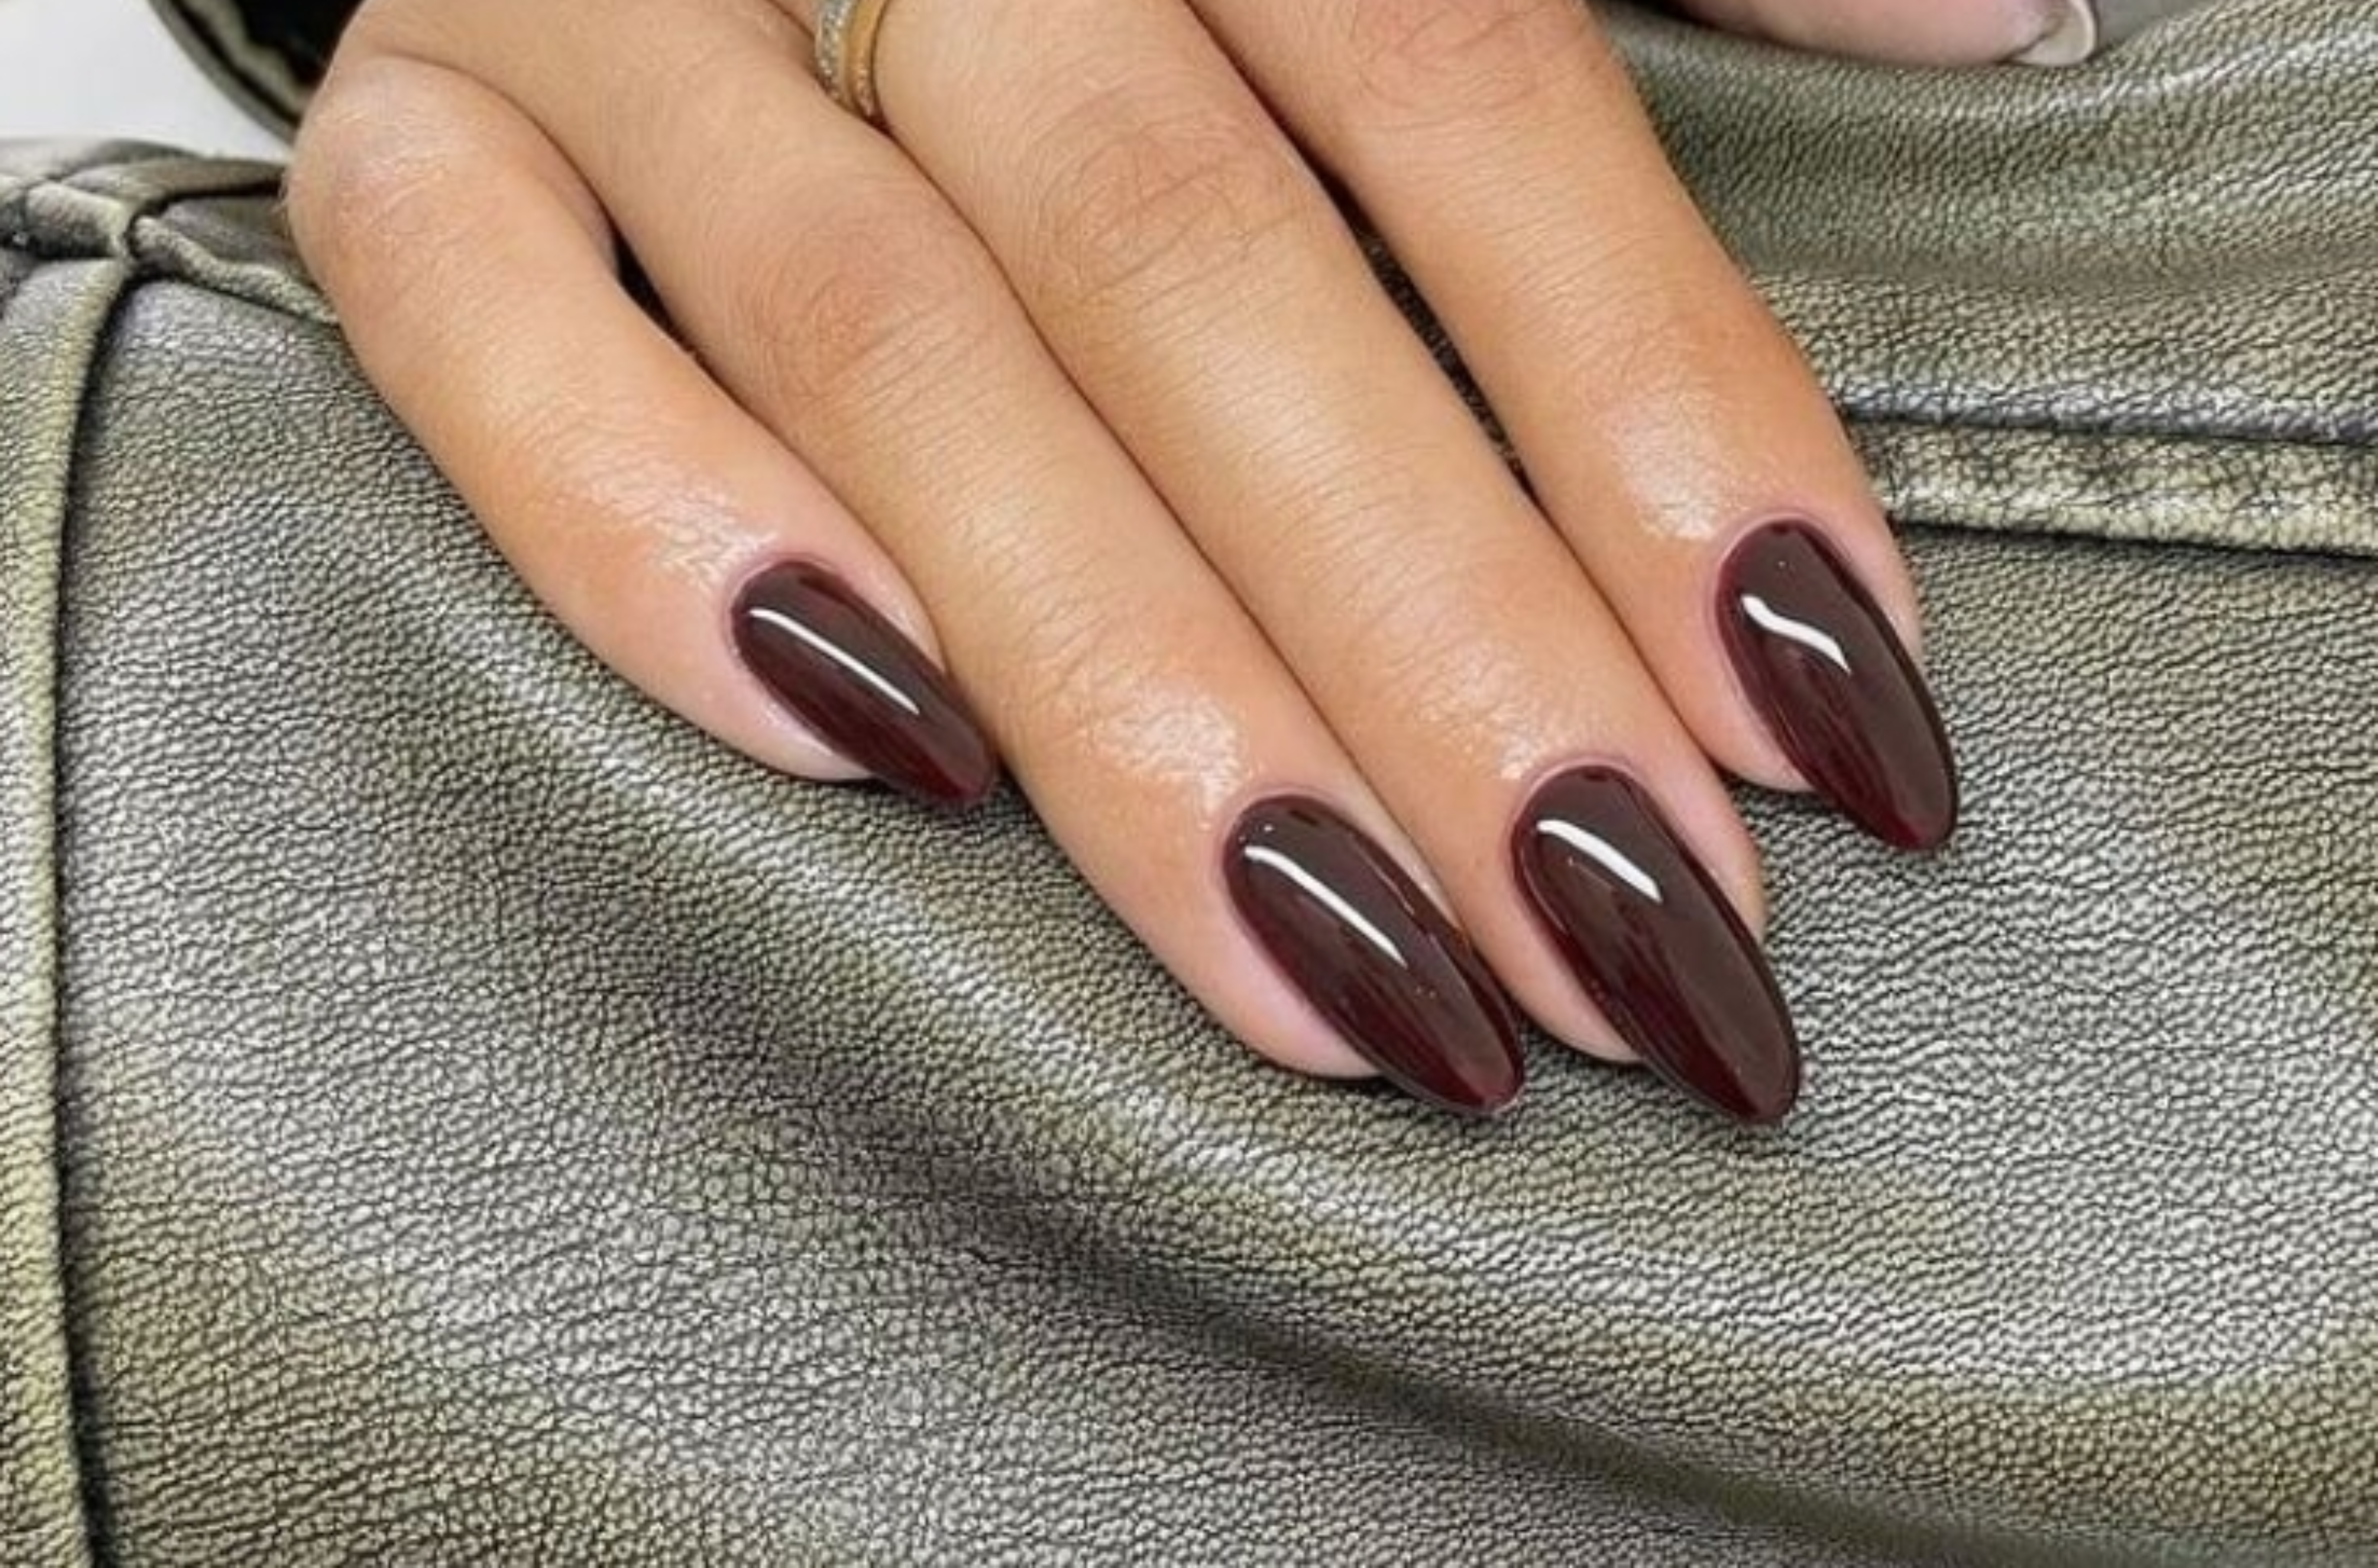
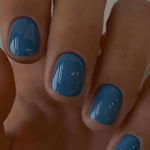
Once you’ve cured your final BIAB layer, it’s time to shape them up with a nail file. You can go square, oval or squoval – whatever your preference. Square nails are making a comeback and so I have made mine square the last few times. A gentle nail file will do the trick. Remember, to go slow and steady.
Step 6: Top It Off!
Finally, seal with a good quality top coat. This adds extra shine and protects your BIAB nails from everyday wear and tear. Cure that final layer, and You’ve got yourself stunning, strong BIAB nails.
So, are you ready to give BIAB nails a try? Let me know in the comments below and don’t forget to hit that follow button on Pinterest for more nail art adventures!