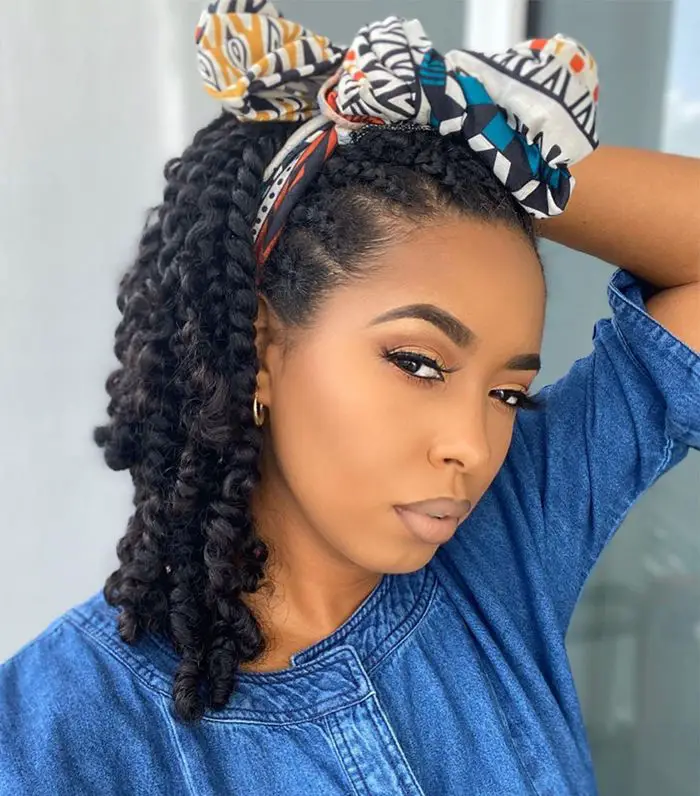
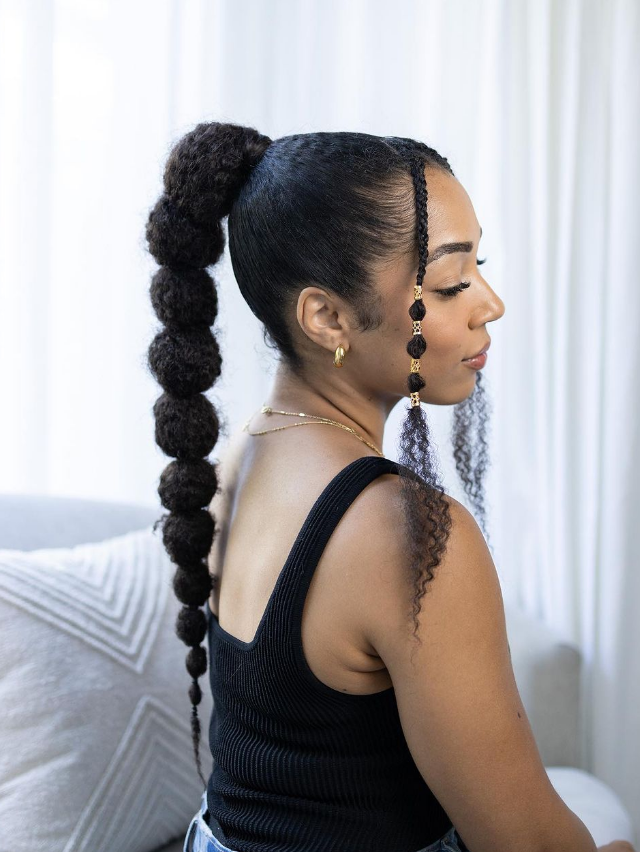
Whether you have short, medium or long natural hair, I’ve put together 20 cute hairstyles that are perfect for any occasion. Whether you want to run around town, or have a lazy day or hit the town with your friends.
Quick Skim
Toggle7 Hair Essentials you’ll need
- Wide tooth Comb
- Spray bottle
- Shine n’ Jam gel
- Mini rubber bands
- Pony extension
- Bobby Pins
- Edge Brush
YOU MAY LIKE : 15 Rubber band Hairstyles you must see
Can these styles also suit relaxed Hair
Absolutely! whether you have natural hair or permed hair, you can recreate nearly all of the hairstyles in this page. With relaxed hair though, you may just need a styling wand or heatless styling rods to achieve the curly looks. You may also need a ponytail extension to achieve the full bun puffs.
Before we dive into the hairstyles, lets look at how to recreate them
How to style your natural hair in bun
Buns are very simply to recreate within a few minutes.

Step 1: Detangle your hair: Gently detangle your hair using a wide-tooth comb or detangling brush.
Step 2: Prep your hair (optional): Apply a leave-in conditioner or styling gel for added hold and definition. If you want sleek edges, use some edge control.
Step 3 : Form a high ponytail: Gather all your hair at the crown of your head and secure it tightly with a ponytail elastic.
Step 4: Bun formation: Hold the ponytail upright. There are two ways to go from here:
Classic bun: Wrap the hair around the base of the ponytail, tucking the ends under the bun as you go. Secure it with bobby pins, placing them strategically to hold the bun in place.
For a more intricate bun: You can create a variety of bun styles based on your preference. Here are two popular options:
- Side roll bun: Instead of wrapping the hair straight down, twist it slightly to one side before tucking it under and pinning. This creates a beautiful crescent moon shape.
- Front roll bun: Similar to the side roll, but instead of twisting to the side, bring the hair around to the front, tucking and pinning to create a half-moon shape framing your face.
Finishing touches: Use bobby pins to secure any flyaway and smooth out the bun for a polished look.
How to do flat twists
I love flat twists because they are chic and can be used for special occasions, even weddings.

Prep: Detangle and moisturize your hair. Part your hair as desired.
Start twist: Take a small section, split it in two, and pinch one section diagonally across the other.
Add hair: As you twist down, use your thumb and index finger to scoop a small section of hair from underneath the larger section.
Incorporate: Bring the new hair section diagonally across and combine it with the section you’re holding.
Repeat: Continue scooping small sections from underneath, twisting them diagonally into the main twist.
Finish: Twist the ends like a regular twist and secure.
Continue twisting: Repeat steps 3-8 to create more flat twists throughout your hair, following your desired parting style.
Style it up! Flat twists can be worn down for a defined style, styled in an updo, or incorporated into braids for more intricate creations.
How to do Bantu Knots
For the playful chic look, try a Bantu Knot hairstyle.

Prep your hair: Start with detangled, damp or slightly wet hair. Apply a leave-in conditioner or light hold product for manageability.
Part and section: Part your hair into sections using a comb. Size will depend on how many knots you want and hair thickness.
Twist the base: Take a section, twist it at the roots a few times like a two-strand twist.
Wrap and coil: Keep twisting slightly as you wrap the hair around the base of the twist, coiling it down towards your scalp.
Secure the knot: Tuck the hair ends under the coil and use a bobby pin to secure the knot firmly.
Repeat: Continue parting, twisting, wrapping, and securing knots all over your head.
Natural Hairstyles for medium to long hair
The perfect hairstyles to rock regardless of the length of your hair. Remember if your hair is short, you can always rely on extensions like this to create the messy bun.
1 | Flat twists with high puff

2 | Two strand Twist outs

3 | Bantu Knots with Twist outs

4. Bun puffs

5| Bantu mowhawk

6 |High bun with twist bangs

7 |High bun afro

8| High bun with side bangs

9. Three strand twists

10| Half up half down

11| Flat twists low puff

12 | Twist updo

13 | Side cornrows

14 | Gel it down

15 | Alternating cornrows

16. Stitch cornrows

17 | Side sweep cornrows

18. Bubble braids

19. Wash n’ Go


